

How To Clean Oil Clutch Screen Honda 250 Big Red 1985
Covered the disassembly in a previous post.
Had a few minor issues that I covered before.
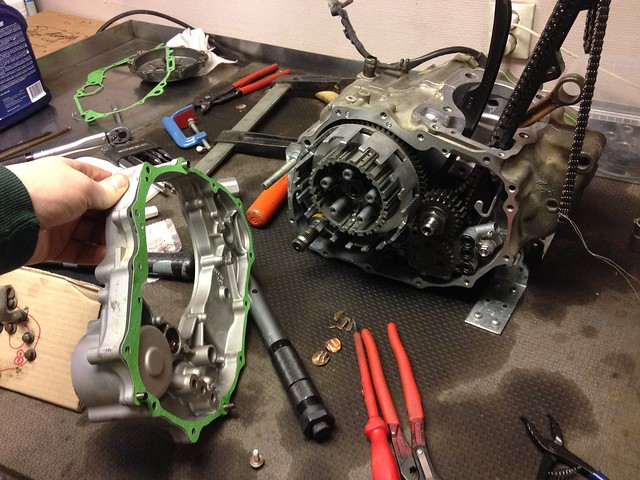
After cleaning up all the parts, ran them through the "parts washer":

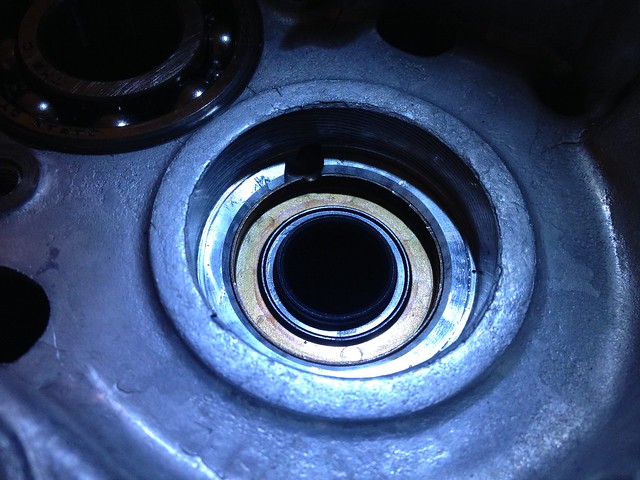
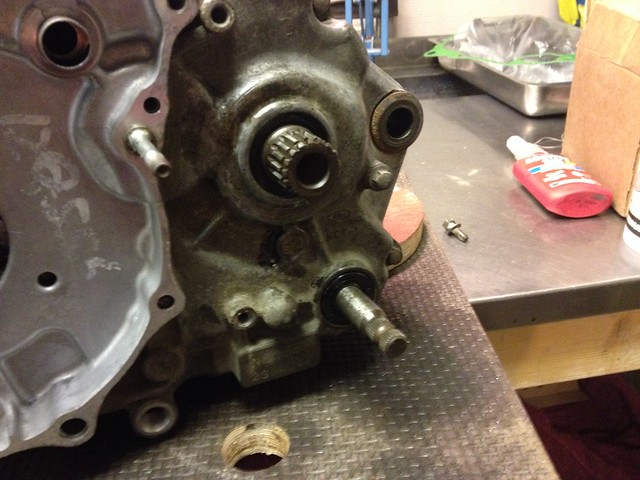
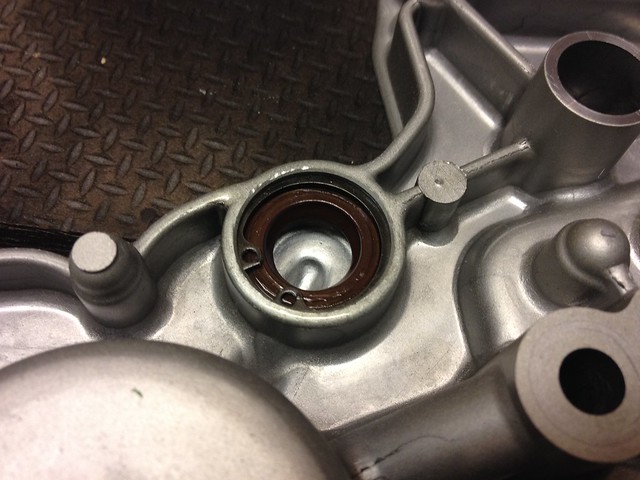
Forgot to add this seal that sits behind ane of the bearings in the engine case and then had to pop that bearing out, was easy since information technology was however cold, accept cold winters lets you lot merely freeze the bearing past placing them exterior to help with associates:
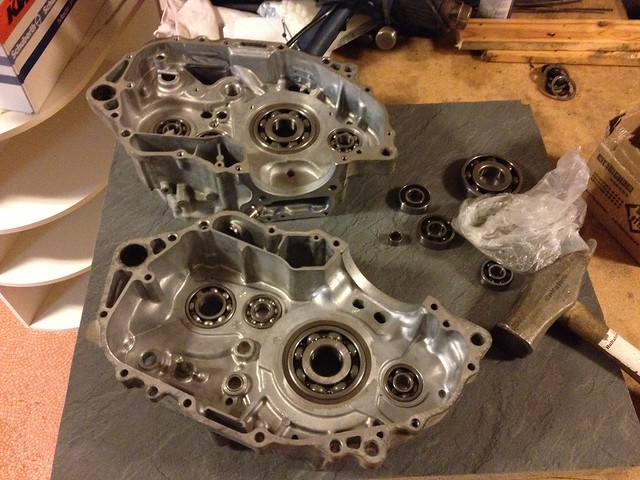
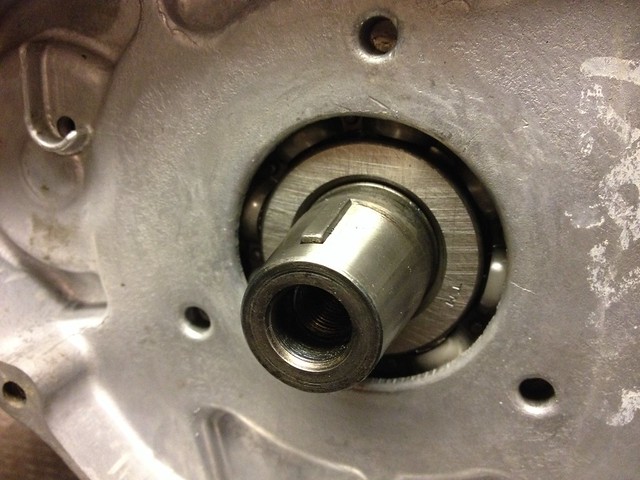
New bearings installed:
Was a piddling fight to get the crank dorsum in place, a wooden piece to apply some pressure and a little borer on the stop of the crank to go it in place:
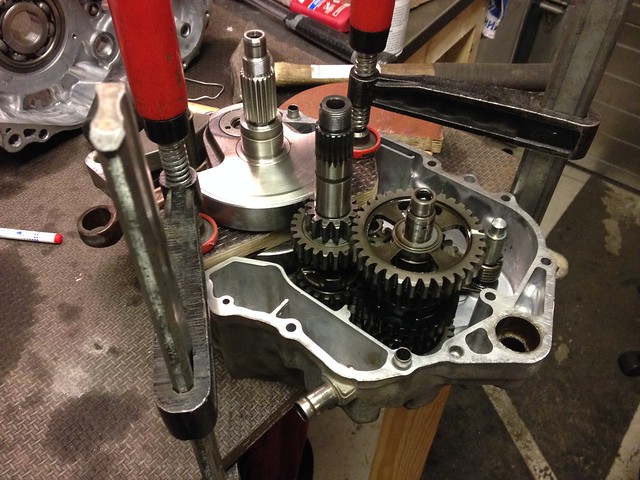
Making sure to get the balancer lined up, glad my dad could aid here since an actress pair of hands was a big help since balancer had to be in place during the crank installation:
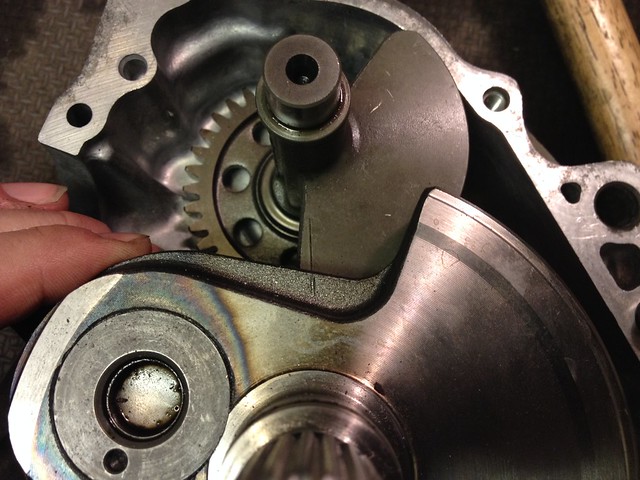
Installed the axle seals after placing the engine cases together, a little tape on the splines was used and some oil to ease the installation:
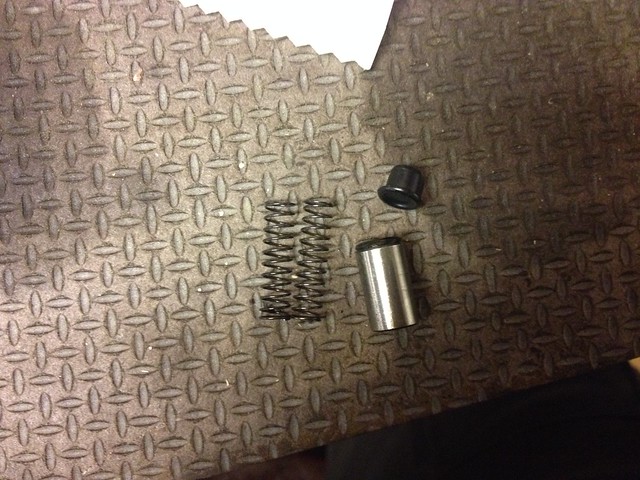
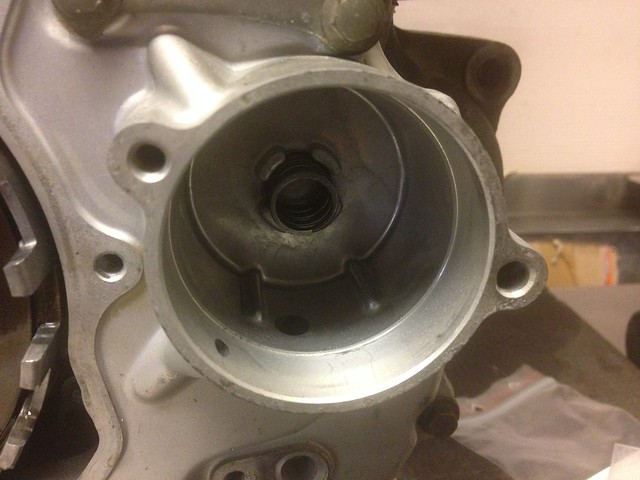
New rubber seal and spring for the oil bypass valve:
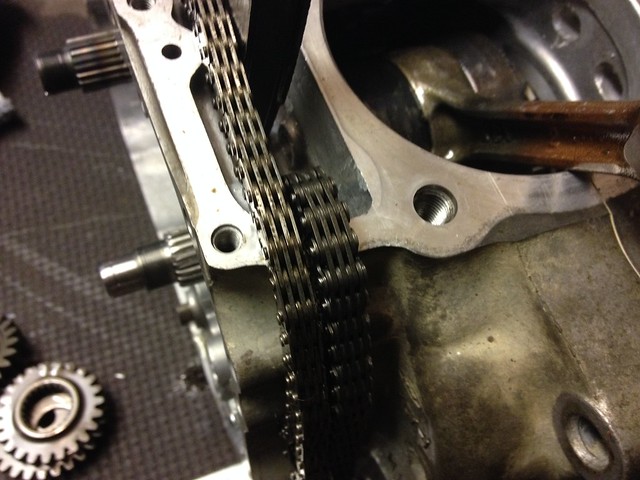
A CRF cam chain that is stronger was added:
Oil screen and pump in place, striped threads on pump housing was covered in the trouble post:

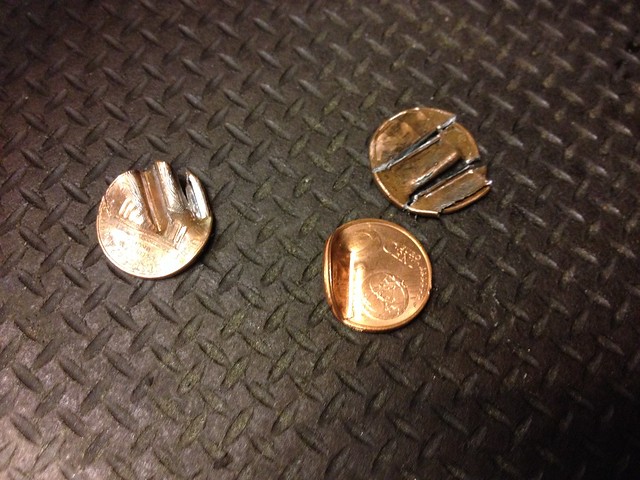
Torquing upwards the nut on the crank:
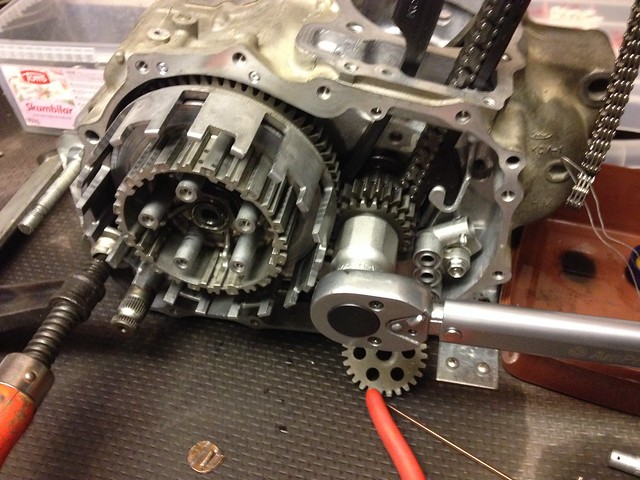
The pennies was simply not sturdy enough to wait upward the engine luckily the European two cent was enough:
Woodruff key in place:
Flywheel was added and bolt torqued upwardly and side by side was the cover with a new gasket and dowels in place:
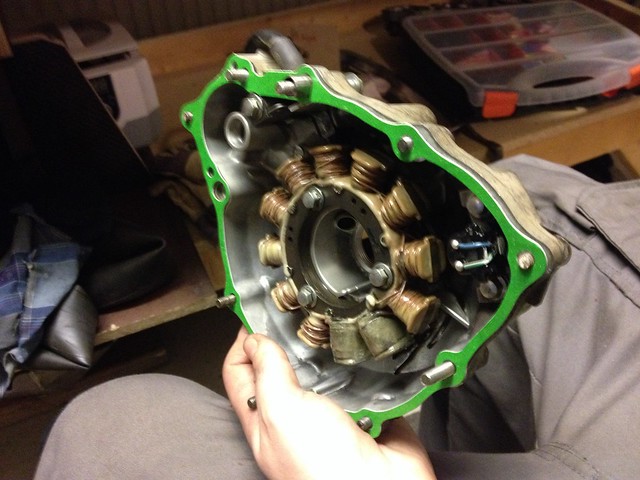
Clutch basket refurbish was covered in trouble post seal with lock band was added to right engine cover:
A niggling grease was added to hold the oil pump triple ring o-ring in place while getting engine comprehend in identify:
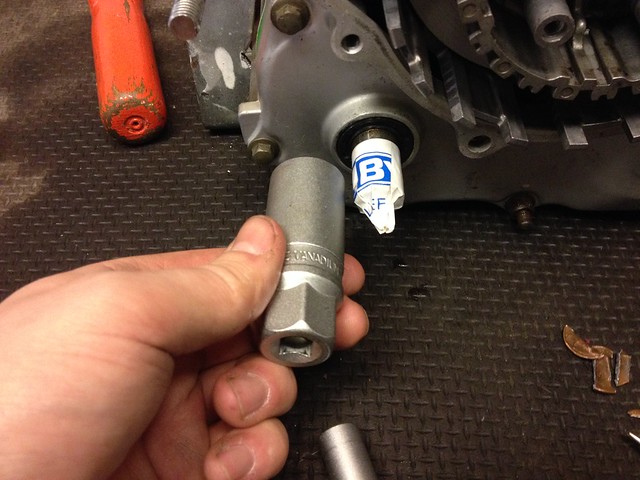
Deep socket was needed to get kick axle seal in identify:
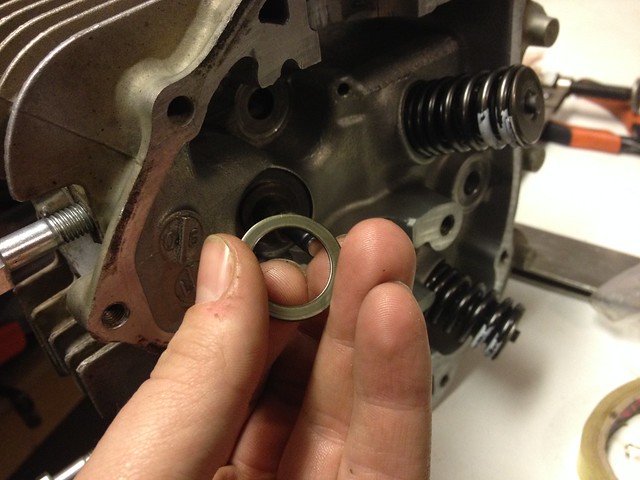
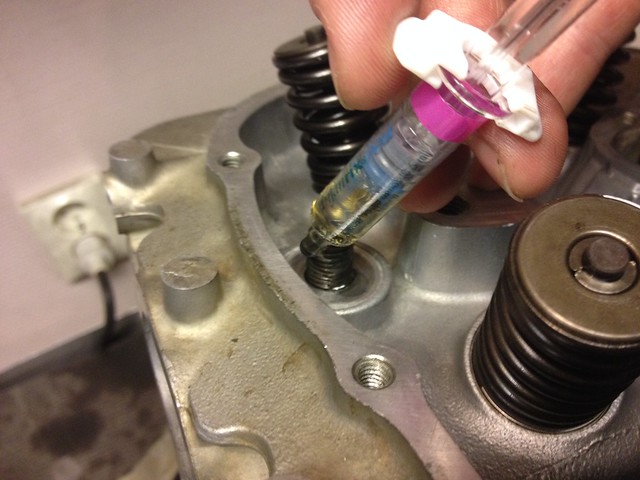
Important to take all these washers that go underneath the valve springs oft stay on the head and might autumn off later and be gone during associates just cause damage if to in place:
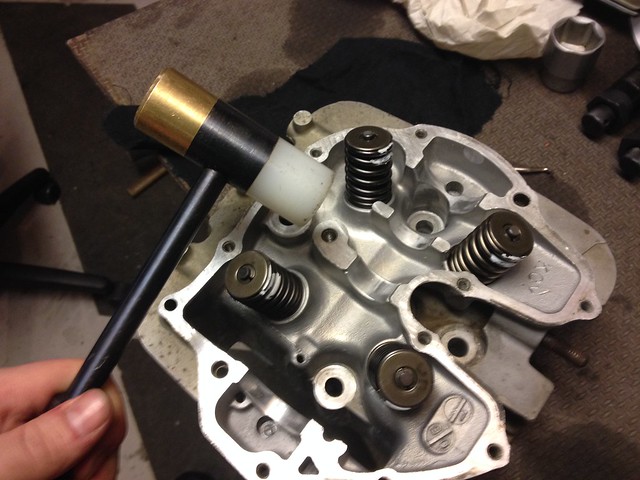
With valve seals and springs everything installed (valve compressor was used during assembly) whack them a few times with a plastic hammer to ensure everything gets well seated in place:
Piston gear up:

All the rings in place:
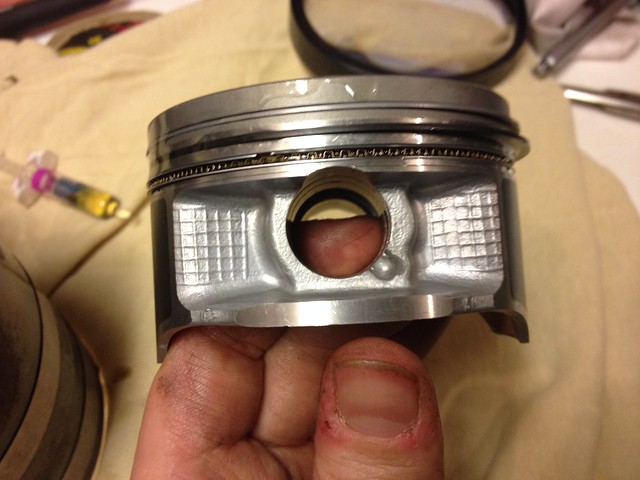
Choose to go with a ring compressor and put the piston in from the top:
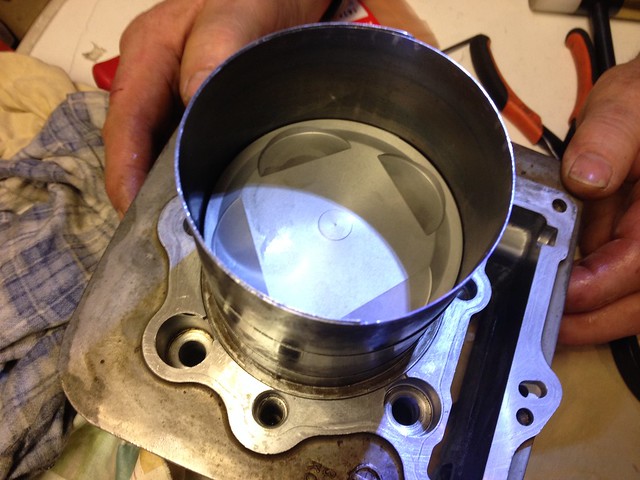
Was very precise that information technology would slide far enough out the bottom to get the piston pin and lock rings in place:

Torquing up the cylinder bolts with commodities threads coated with oil, DON'T fill holes with oil, can "hydrolock" with stripped threads as a upshot and nosotros don´t desire that:
Checking that head studs are properly bolted to the cylinder:
A little oil on the threads earlier torquing the nuts:
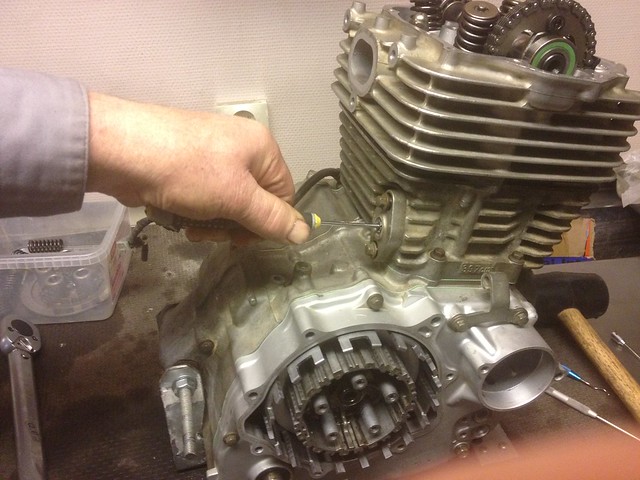
Choose to remove the automated decompresser from the cam axle and with it in place and everything lining upwards holding the crank makes i possible to torque the bolts on the timing sprocket:

Possible to fit the cam chain tensioner without a special tool if yous have help belongings it until its been bolted dorsum in place:
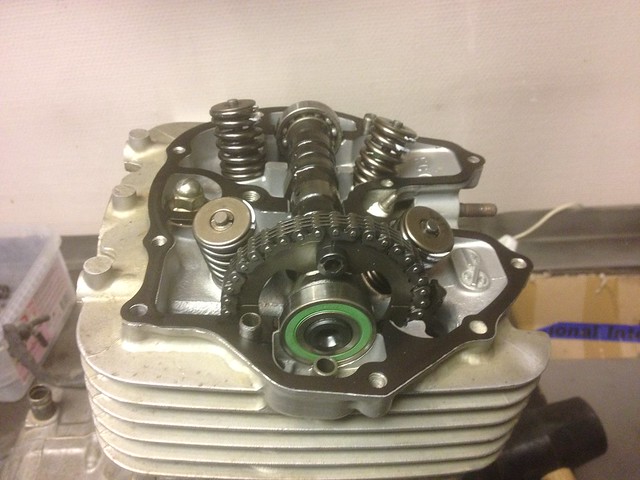
Brand sure the seal on the cam axle begetting is right:
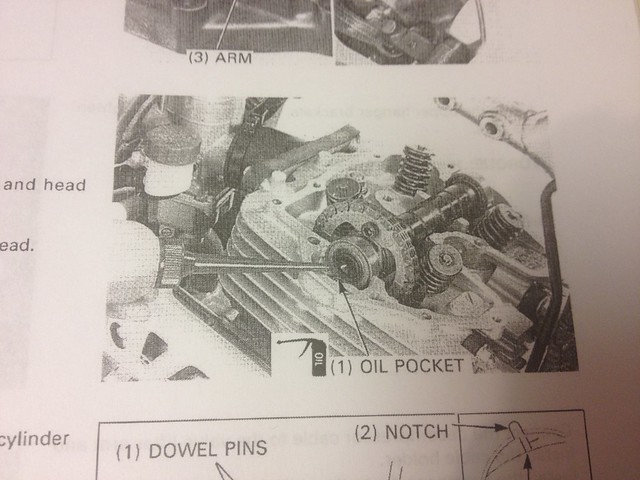
I forgot to fill that pocket with oil as the manual says simply since all the surfaces was well lubed I did not open it back upwards for that:
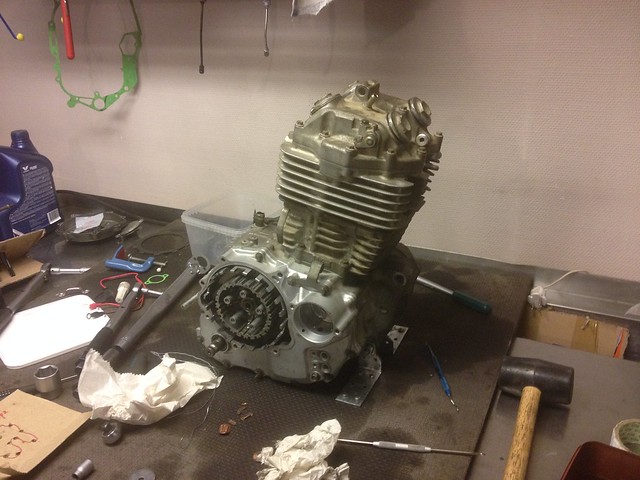
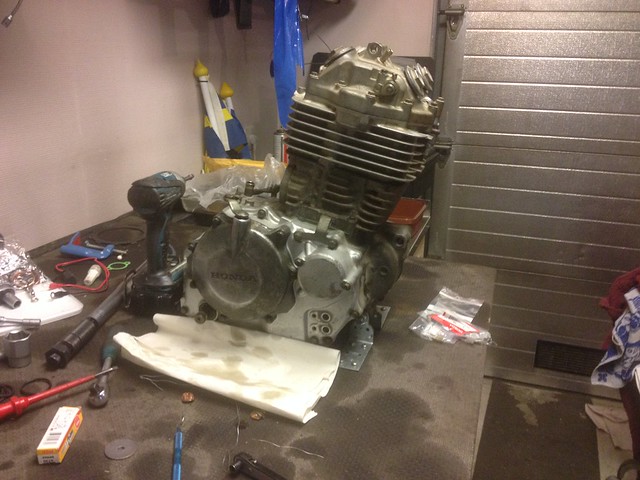
Almost all done:
Make sure you lot have the leap pressing the oil filter in place:
Last few pieces on the clutch was bolted dorsum up:
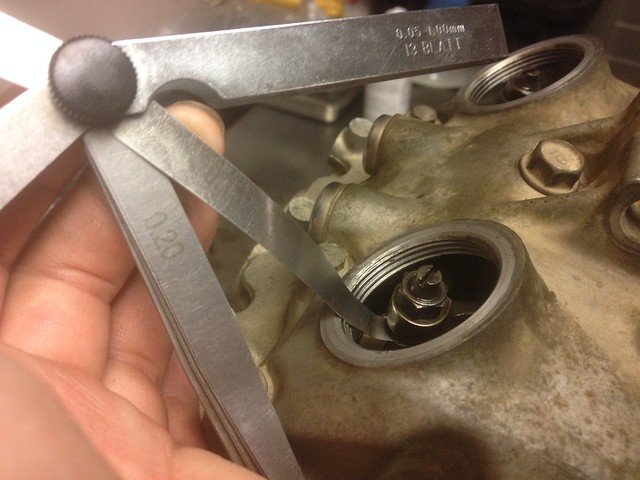
Valve clearances were checked while the engine was still out of the frame and easily accessible:
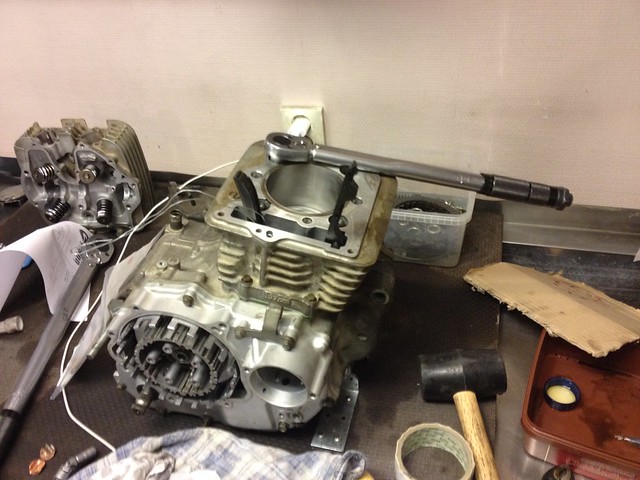
Engine back in the frame:
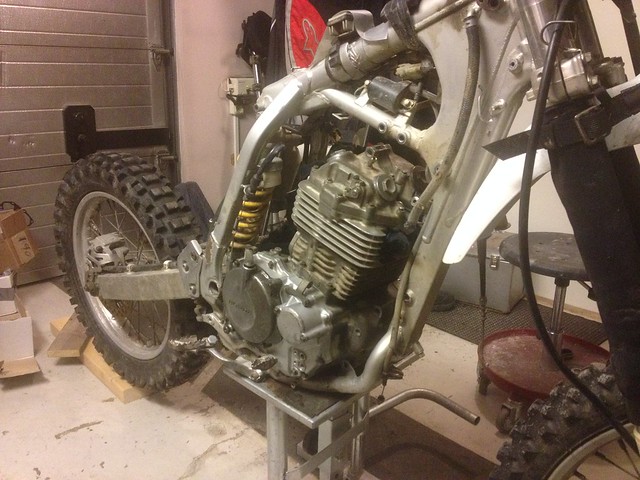
The rest was bolted back upwards and also did this video virtually the rebuild, has first test fire in information technology as well:
Hope this can exist of aid if you demand to rebuild your XR400 engine!
And so it is up and running but now have a little slipping in the clutch just friction discs was quite badly burnt and really black, one was replaced during rebuild but have ordered more than to replace them all and new springs that will hopefully sort that out.
In that location are also a few electrical gremlins with loss of driving light, restriction light non working and then will have to look into that practise get it to pass the exams all road legal motorcycles are required to take every two years in Sweden.
Might be something in the connection that was added when updating the handlebar cluster information technology is a bit of a mess the entire wiring loom since lots of stuff has been added and changed over the years.
And its difficult to search for the electrical problem on a machine without a battery that need to be running while working on it.

Source: https://www.dirtyadv.com/honda-xr-400-engine-assembly/
Posted by: lovellcamen1941.blogspot.com
0 Response to "How To Clean Oil Clutch Screen Honda 250 Big Red 1985"
Post a Comment